X-mall Conversion for X-cart Pro documentation
Features of X-Mall
- Give your providers their own store front!
- Divide products by categories amongst all stores!
- Feature products in different stores!
Adding a Store to your X-Mall
- Log into the admin portion of your website.
- Select the “Xmall Manager” link from your management toolbar (defaults to left side).
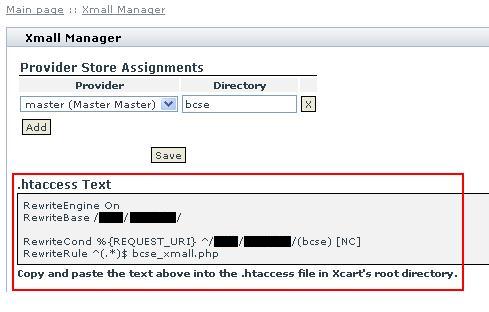
- Select “Add” under the “Provider Store Assignments” section.
- Select your desired provider and give the directory in which you want the store front to exist in. Click “Save”.
- The .htaccess code segment will appear first. Copy and place this into your .htaccess file if you have admin access to your server.
Otherwise, have your admin place it into your file.
- Next, move on to the details of the store front. Select a name and welcome message for the store and click “Save”. Then, add any categories you would
like to have associated with it and click “Save” located under that section.
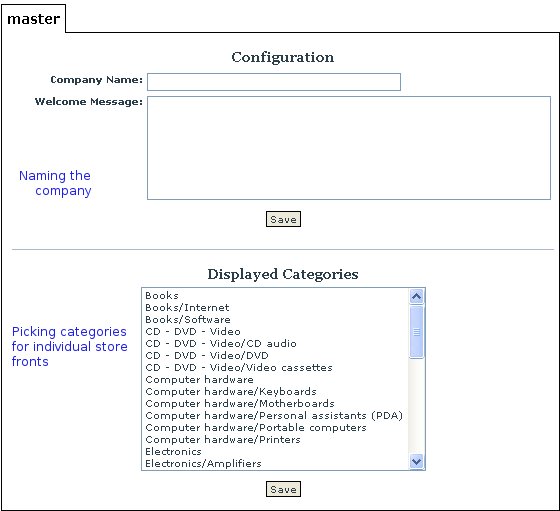
- The next section will configure what featured products you want that store to have (defaults to the main page configuration).
Congratulations! You have set up a new store front!
FAQ
Q. What does “domain” field do?
A. The “domain” field should remain blank. it is only used when you have an xmall that spans more than one domain.
Q. What files do I modify to “Skin” each shop differently?
A. There is a “store_skins” directory inside your xcart directory. You will need to copy the skin1 directory to “store_skins/newstoreskinname” and then you will be able to select that skin in the admin.
Q. Do we have to have home.php at the end?
A. No, you can leave the home.php off. You do need the trailing slash, however.